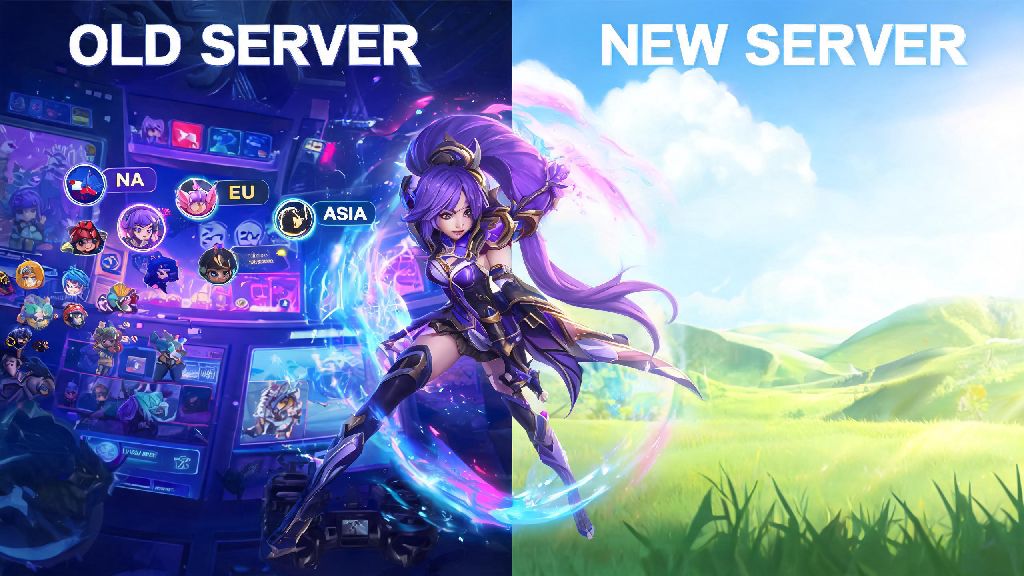
We’ve all been there: your friend from another country keeps sending you clips of their wild Mobile Legends ranked matches, or you’re sick of getting 120+ ping every time you queue up for ranked, or you heard a different region has a limited-time skin event you can’t access at home. Whatever your reason, switching servers doesn’t have to be complicated, and you don’t have to risk losing hundreds of hours of progress on your main account. Today we’re breaking down exactly how to change server in Mobile Legends, plus all the small details most guides skip so you can avoid common mistakes that get people locked out of their accounts. I’ve tested this process across Android and iOS devices dozens of times, so every tip here is proven to work for both casual and competitive players.
How to Change Server in Mobile Legends: Full Step-by-Step Walkthrough
The process takes less than two minutes total, as long as you’ve already bound your account to a third-party service first. Start by opening the Mobile Legends app and waiting for it to load fully to the main home screen. Don’t tap on any event pop-ups first, as these can sometimes glitch out the server menu. Next, tap on your profile icon in the top left corner of the screen, then navigate to the “Account” tab on the side menu. You do not need to create a new account to switch servers, as long as your original account is bound. From the account menu, look for the “Server” option listed under your account details, tap it, and you’ll see a full list of available servers sorted by region. You can filter servers by ping to see which ones will give you the smoothest gameplay, or search for the specific region you want to join. Once you select the new server, the game will automatically restart to download the necessary assets for that region. When it loads back up, you’ll be logged into the new server with your bound account. If you want to switch back to your original server later, just follow the same steps and select your original region from the server list.
Key Pre-Switch Checks to Avoid Losing Account Progress
Most of the horror stories you hear about people losing their skins or rank after switching servers come from skipping a few simple pre-checks before they make the change. Taking 30 seconds to go through this list will save you hours of frustration trying to recover your account later. Never delete your local game data before switching servers, as this can erase unbound progress permanently even if you think you have it backed up. These are the most important things to confirm before you tap that server switch button:
It’s also important to set realistic expectations for what will carry over to the new server. You will not be able to transfer existing skins, heroes, rank progress, or in-game currency between servers. Each server acts as a completely separate account, even if you’re logged in with the same third-party credentials. That means if you have a Mythic rank on the North American server, you’ll start at Warrior rank when you first join the European server, and none of your NA skins will be available there. You can still switch back to your original server at any time to access your original progress, though.
Common Server Switch Issues (And Quick Fixes That Work)
Even if you follow all the steps correctly, you might run into small issues after switching servers, especially if you’re joining a region far from your physical location. The most common problem people face is constant high ping even after picking a server with low listed ping during selection. This usually happens because your internet service provider routes traffic to that region through a slow international server. If you experience constant lag after switching servers, try using a reputable gaming VPN optimized for mobile to route your traffic through a server in the same region as your MLBB server. Just make sure you don’t use free VPNs that inject ads or sell your data, as these can cause even more lag and put your account at risk. Another common issue is missing region-exclusive events even after you switch servers. Moonton often restricts these events to users with IP addresses located in that specific region, so you’ll need to use a VPN with a local IP to access them. If you get a login error after switching, the most likely cause is that your account wasn’t properly bound before you made the switch. To fix this, switch back to your original server first, bind your account to a third-party service, then try switching again. You might also get a temporary 24-hour cooldown on switching servers if you change regions more than three times in a single day, which is a normal anti-exploit measure to prevent people from manipulating event rewards.
Is Switching MLBB Servers Allowed Under Moonton’s Terms of Service?
This is one of the most common questions I get from players who are worried about getting banned for switching regions, and the short answer is yes, it’s completely allowed in most cases. Moonton gives players the option to switch servers directly in the official game menu, so you won’t get banned just for changing regions to play with friends or access different events. That said, there are a few exceptions that can get your account suspended or permanently banned. Moonton actively bans accounts that use modified APKs or fake GPS tools to manipulate server access for ranked boosting, event fraud, or to bypass region locks for competitive play. For example, if you use a fake GPS tool to switch to a lower-skill region to grind easy Mythic rank, you will get flagged by Moonton’s anti-cheat system and banned. You also can’t switch servers to exploit region-specific pricing for in-game purchases, as that violates the game’s terms of service. As long as you use the official in-game server switch menu and don’t use third-party tools to gain an unfair advantage, you have nothing to worry about. I’ve switched servers more than 10 times over the past three years to play with friends in the Philippines, Brazil, and Germany, and I’ve never gotten a warning or ban for it.
Switching regions to play with friends or try out new content is one of the best parts of Mobile Legends’ global community, and it doesn’t have to be a stressful process. As long as you bind your account first, go through the pre-switch checks, and use the official in-game menu to make the change, you won’t run into any major issues. Now that you know how to change server in Mobile Legends, you can go ahead and queue up for matches with your international friends, or check out that limited event you’ve been seeing clips of online. Just remember that each server is a separate account, so don’t be surprised if you have to grind a few heroes again when you first join a new region. If you run into any issues that aren’t covered here, drop a comment below and I’ll help you troubleshoot.