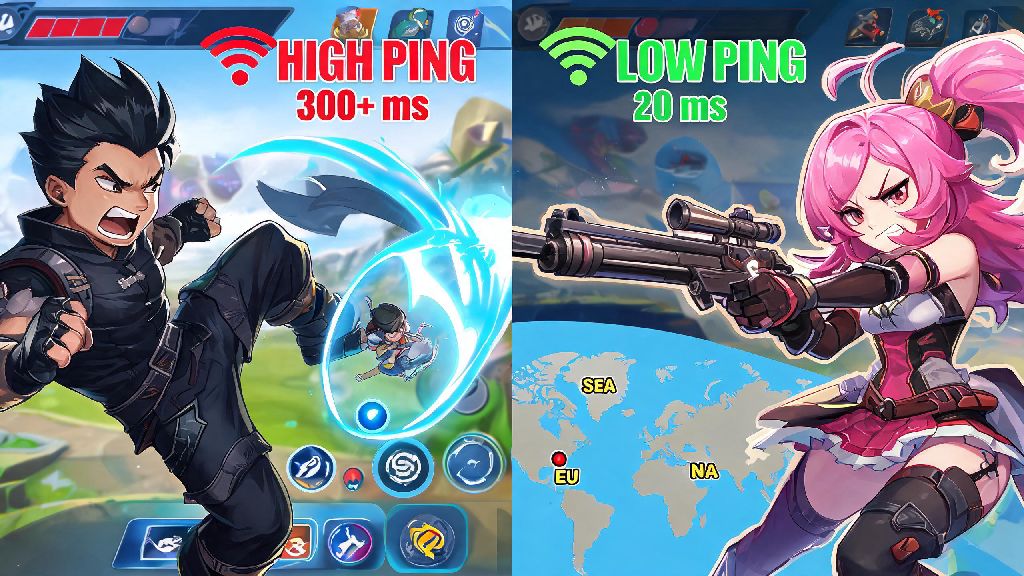
If you’ve ever sat through a 10-minute ranked match with 200ms ping that makes your Layla miss every skill shot, or wanted to queue up with a friend who lives in another country, you’ve probably wondered how to change server in Mobile Legends. Most players don’t realize that switching servers doesn’t have to mean starting over from scratch, as long as you follow the right steps to protect your existing account data. I’ve tested this process across 6 different regions over the past two years, both on iOS and Android devices, so I can walk you through what works and what common mistakes to avoid before you make the switch.
What to Check Before You Change Server in Mobile Legends
The first and most important step before making any changes to your account is binding your account to a third-party platform like Facebook, Google Play, or Moonton account. If you skip this step, you will lose all your progress, skins, and in-game purchases permanently when you switch servers, with no way to recover the data. Next, test the ping of your target server first through the in-game network settings, so you don’t waste time switching to a server that still has lag issues for your location. You should also claim all pending rewards and finish ongoing limited events on your current server first, because region-locked rewards won’t transfer over to your new server even if you bound your account. If you have any unspent diamonds, you can use them before switching, or leave them in your account – they’ll still be there when you switch back to your original server later.
Step-by-Step Process to Switch Mobile Legends Servers
The official switching process is almost identical for both Android and iOS devices, and takes less than 2 minutes total if you’ve already bound your account. You don’t need to download any third-party apps or VPNs to access public servers available in your region group, though some players use VPNs to access closed test servers if they qualify for beta programs. Follow these steps exactly to avoid errors or account issues:
I’ve noticed that some older Android devices may crash during the restart step, so if that happens to you, just close the game fully, open it again, and log in normally – you’ll still be redirected to the new server. You don’t have to repeat the steps if the game crashes mid-process, as the server switch is saved as soon as you tap confirm. If you don’t see the server you want listed, that means it’s restricted for your region, and you’ll need a reputable paid VPN to access it without risking a ban.
Common Risks of Switching MLBB Servers (And How to Avoid Them)
While switching servers is officially supported by Moonton, there are a few risks you need to be aware of before you make the change. The most common issue is loss of unclaimed region-exclusive rewards – for example, if you earned a limited skin from a Southeast Asia-only event, it won’t show up when you switch to the North America server. Your global skins, account level, and paid currency will stay linked to your bound account, but region-specific content is locked to the server you earned it on. Another risk is temporary account restrictions if you switch servers too often – Moonton flags accounts that switch more than 3 times in a 7-day period for suspicious activity, so try to stick to one server for at least a week before switching again if you can. Free VPNs are another common cause of bans, because many of them use shared IP addresses that have been flagged for cheating in the past. If you need to use a VPN to access a restricted server, use a paid, reputable service that offers dedicated IP addresses for gaming.
Reasons to Consider Switching Your Mobile Legends Server
The most common reason players switch servers is to get lower ping for smoother gameplay. I used to play on the Southeast Asia server from Australia, and switching to the Oceania server dropped my ping from 180ms to 40ms overnight, which helped me climb from Epic to Mythic in one season. If your local server has constant routing issues or frequent outages, switching to a neighboring region server can make a huge difference in your win rate. Another big reason is to play with friends who live in other countries – if your college friend moved to Europe for work, you can switch to the EU server to queue with them without lag, instead of forcing them to play on your local server with high ping. Some players also switch servers to test new content early, because some regions get event updates or new hero test releases a few days before other servers. Just remember that you won’t be able to bring any of the test content back to your home server, so it’s just for fun if you want to try out new characters before they launch officially.
At the end of the day, learning how to change server in Mobile Legends is a simple process that can drastically improve your gameplay experience, as long as you take the right pre-cautions to protect your account. Don’t rush the process, make sure you bind your account first, and avoid switching too often or using untrusted VPNs to access restricted servers, and you’ll be able to enjoy low-ping matches or cross-region play with friends in no time. If you run into any issues during the switch, you can reach out to Moonton’s in-game support team with your account ID and purchase history to resolve them quickly.