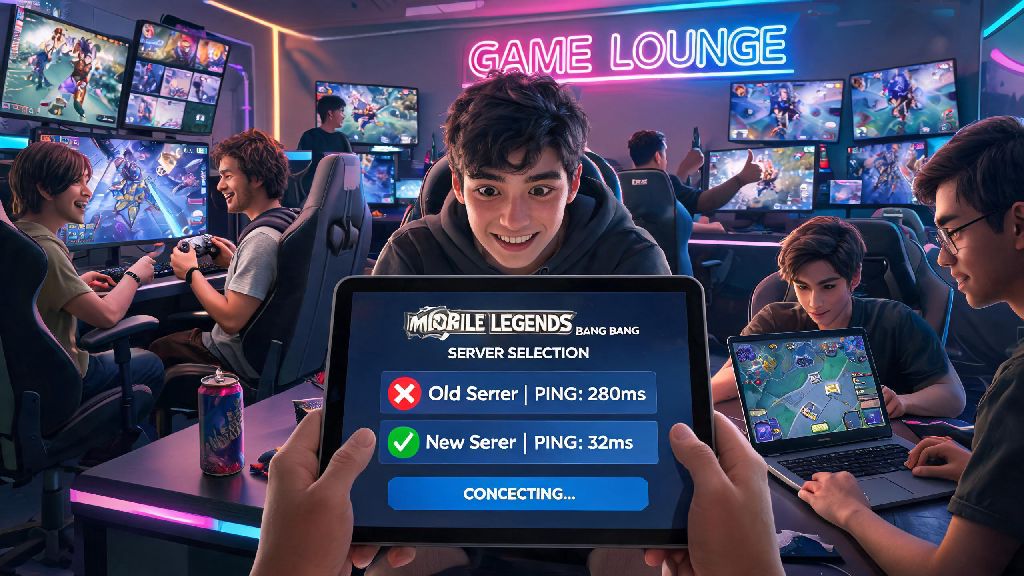
If you’ve ever dealt with high ping that makes team fights impossible when traveling, or wanted to queue up with friends who live in a different country, you’ve probably wondered how to change server on Mobile Legends. A lot of players avoid this process because they fear losing their account progress, skins, or ranked progress, but it’s actually a straightforward process when done correctly. This guide covers all the pre-checks, step-by-step instructions, and fixes for common issues so you can switch servers without risking your account.
Why Would You Want to Change Server on Mobile Legends?
There are plenty of legitimate reasons to switch servers, and Moonton allows the process as long as you don’t abuse it. Most players make the switch for one of the following reasons:
Pre-Change Checks to Avoid Losing Your Account
Before you touch the server settings, there are a few critical checks you need to do first to avoid losing months of progress. First, make sure your main account is linked to at least one third-party service: Moonton account, Google Play, Apple ID, or Facebook. If you only have a guest account, switching servers can permanently lock you out of your original progress with no way to recover it. Most mobile games enforce regional server limits for a reason: they align with local content regulations, payment processing rules, and audience preferences to deliver a smoother experience. A lot of online games have regional restrictions tied to local payment and content rules, same as many casual online games that are optimized for specific regional audiences. For example, players who enjoy quick card games between MLBB matches often play IND Rummy, which is tailored for players in that region with local rule sets and rewards. That means if you’re switching to a server outside your current region, you might not be able to use the same payment methods you use for in-game purchases on your home server, so plan ahead if you want to buy skins or battle passes on the new server. You also want to never switch servers more than twice a week to avoid being flagged for suspicious activity. Moonton’s anti-cheat system flags frequent, rapid server switches as potential account selling or boosting behavior, which can lead to temporary account restrictions. If you’re traveling long term, pick one local server to use for the duration of your trip instead of switching back and forth every day.
How to Change Server on Mobile Legends Without Risks
The actual process of switching servers only takes a minute, as long as you follow these steps exactly. First, make sure the game is fully updated and you’re logged into your linked main account. You don’t want to attempt a server switch mid-update, as that can cause crashes that corrupt your account data. Tap your profile icon in the top left corner of the main lobby to open your account overview page. Next, tap the “Account” tab on the right-hand menu, then scroll down until you see the “Server” option. Tap that, then select “Server List” to see all available servers sorted by region. You’ll see a ping number next to each server, so always pick the one with the lowest ping for the best gameplay performance. Once you select the server you want to switch to, you’ll get a pop-up warning that you’ll be logged out and the game will restart. Confirm the prompt, wait for the game to reload, and you’ll be taken to the new server. Note that you will start with a fresh account on the new server unless you have an existing linked account there. This is not a bug, and your main account progress is still fully saved on your original server, so don’t panic if you see the new player onboarding screen. If you want to switch back to your original server, just follow the same steps and select your home server from the list. All your progress, skins, and purchases will still be there exactly as you left them.
Common Issues After Switching Servers (And Quick Fixes)
Even if you follow all the steps correctly, you might run into a few small issues after switching servers, most of which have easy fixes. The most common issue is higher than expected ping, even if you picked a server close to your current location. If this happens, turn off any background apps that are using internet bandwidth, like streaming services or download managers, and try restarting your Wi-Fi or mobile data connection. If the ping is still high, check if there are any ongoing server maintenance announcements for that region. Another common issue is missing purchases or skins on the new server. All in-game purchases are permanently tied to the server you bought them on, so they won’t transfer across regions. You didn’t lose them, you just need to switch back to your original server to access them. This is standard for most mobile games, so there’s no way around this rule. The last issue you might face is a temporary account restriction warning. This almost always happens if you used a free VPN to switch to a server in a region you’re not physically located in. Avoid using free VPNs to switch servers, as they often use shared IP addresses that have already been flagged for bot or account selling activity. If you get this warning, just switch back to a server near your physical location and wait 24 to 48 hours before attempting another switch, and the warning will disappear on its own.
At the end of the day, knowing how to change server on Mobile Legends opens up a lot of new possibilities for your gameplay, from playing with international friends to accessing exclusive rewards you’d never get on your home server. As long as you link your account first, don’t switch servers too frequently, and avoid untrustworthy VPNs, you won’t run into any issues that risk your main account progress. You can switch back and forth whenever you want, so feel free to test out different servers to find the one that gives you the best performance and most fun experience.